Table of Contents
Premiere Pro may not offer the most user-friendly and simple user interfaces when compared to simpler competitors. Adobe Premiere features four primary panels and a docked, panel-based user interface.
The nicest part about Adobe’s Premiere Pro workspace design is that, unlike its competitors, it is totally adjustable. You may alter the colors of your workspace, program monitor settings, add a plugin interface, adjust their size on your screen, and so on.
In this post, we’ll look at Premiere Pro’s very foundation: the interface. While Adobe’s Premiere Pro may appear frightening at first appearance, it is quite the reverse. Once you’ve been acquainted with the concepts covered in this article, you’ll be prepared to begin with your editing tasks.
Beginner’s Guide To Adobe Premiere Pro Interface: Workspaces

The interface of Premiere Pro is composed of panels that are grouped into a layout and stored as a workspace. Assembly, Editing, Color, Effects, Audio, Libraries, Graphics, All Panels, and Metalogging are the nine default workspaces in Premiere Pro. The labels indicate that Adobe has organized the default workspaces by distinct post-production processes.
The Window menu contains a list of all of the panels in Premiere Pro. If you unintentionally closed a panel, you may restore it via the Window menu. Each of these panels may be placed wherever you wish in the interface. Dock a panel tab by clicking and dragging it, or add it to the panel group.
Beginner’s Guide To Adobe Premiere Pro Interface: Source Monitor

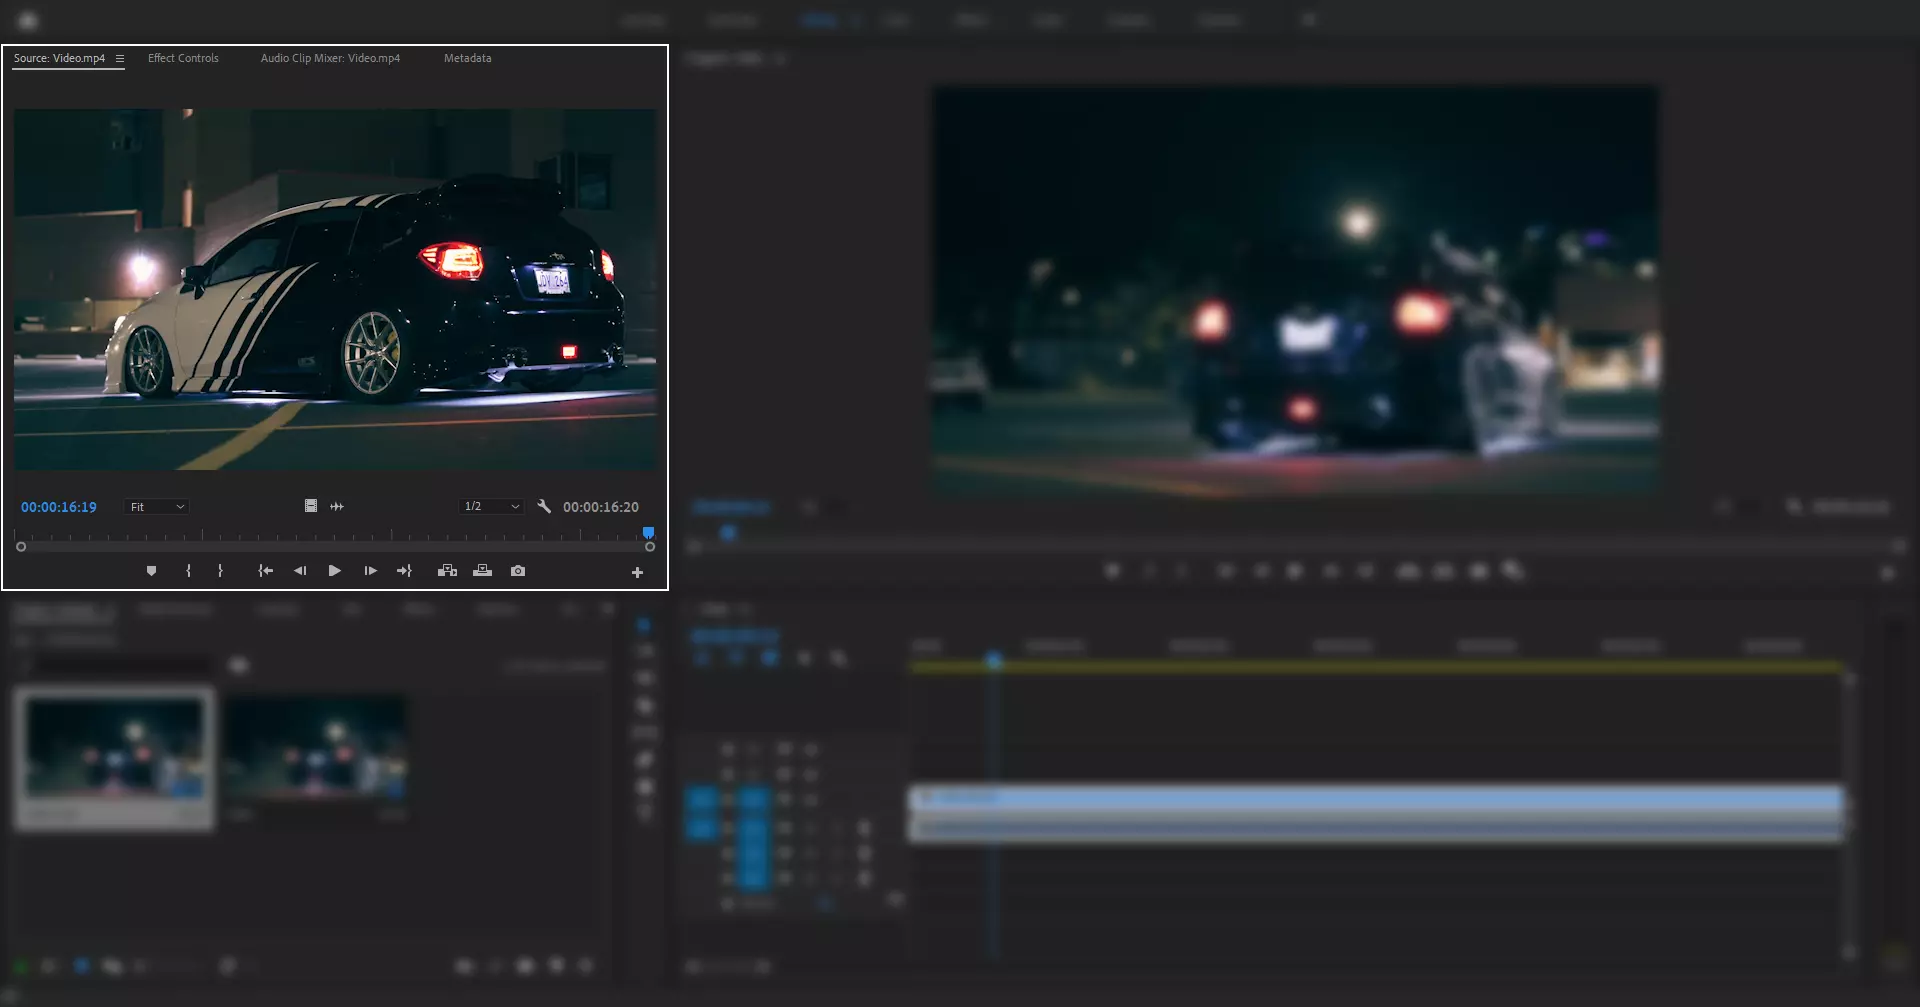
The source monitor of Adobe Premiere Pro’s main purpose is to permit users to examine their clips in full quality and set in and out points. Its description streamlines the source monitor & minimizes its function. In the project panel, you could set both in and out points.
The Source Monitor project provides many views in the panel that compare the two views. To locate ideas, use the panel menu. The panel menu may be found in the display panel’s top right hand corner.
Beginner’s Guide To Adobe Premiere Pro Interface: Program Monitor

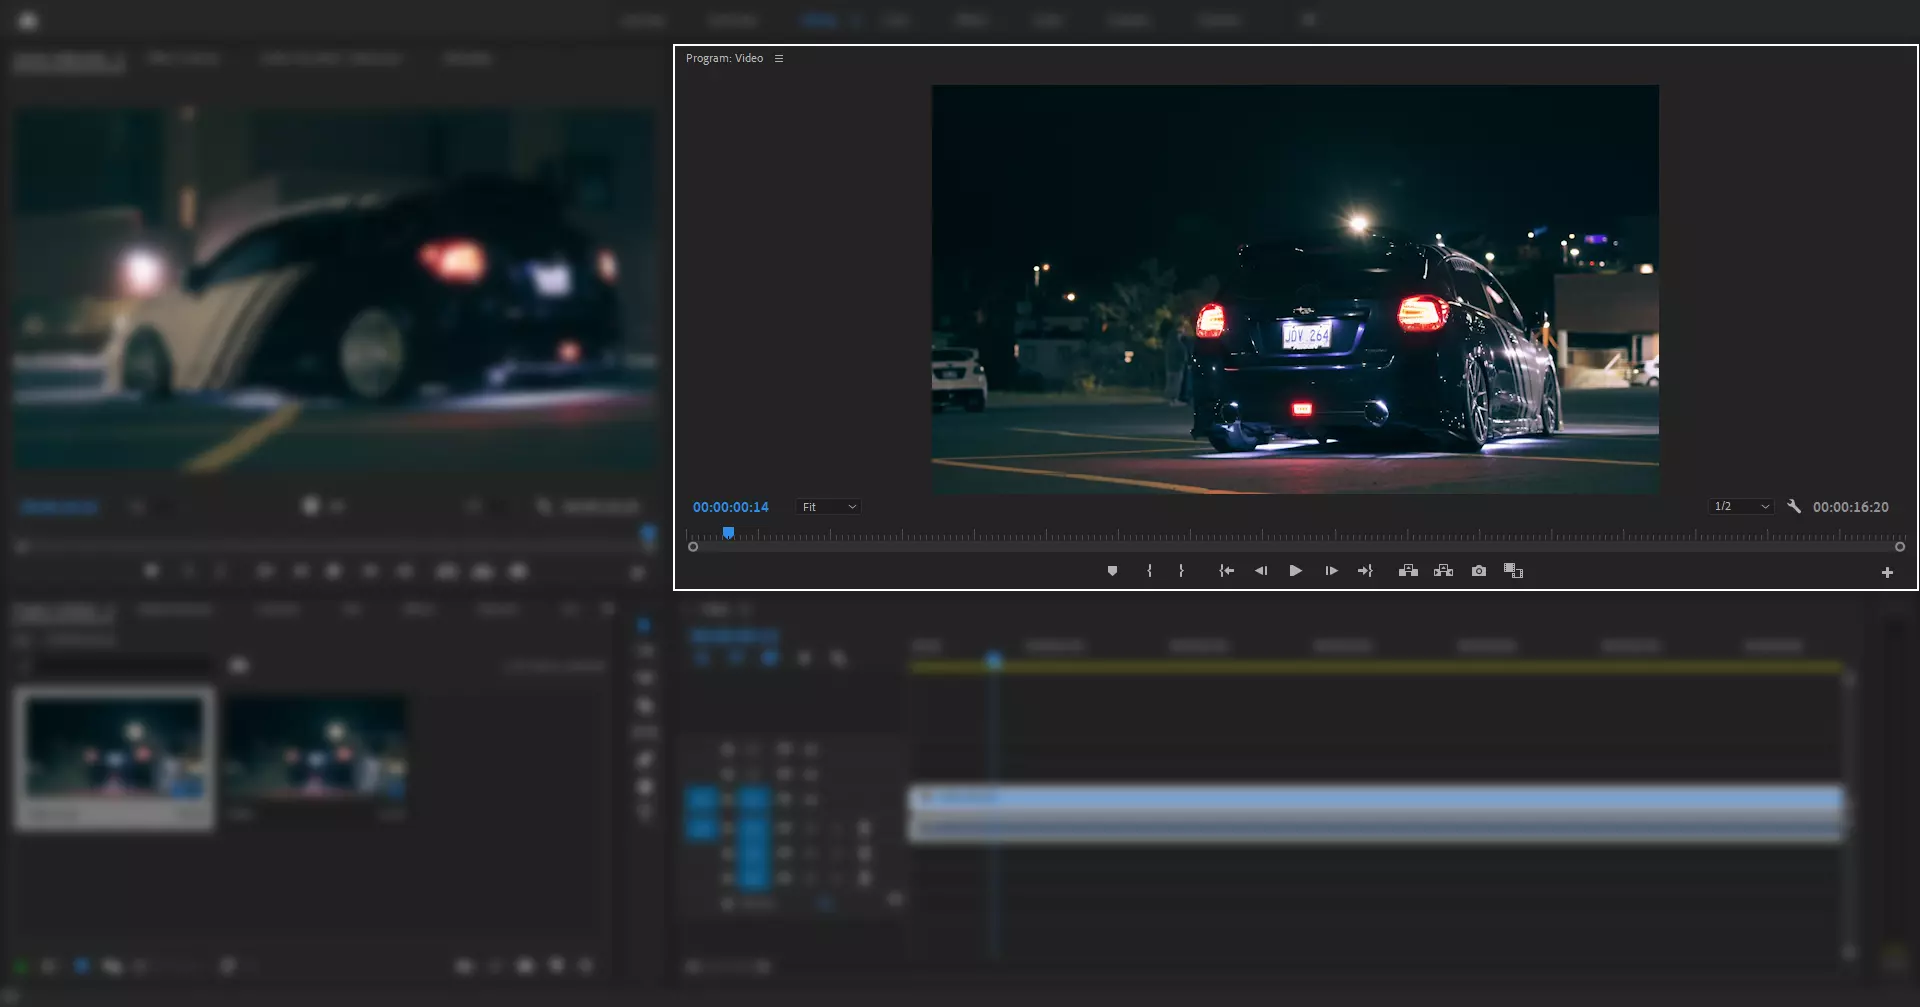
The program monitor, which can be located in the middle-upper portion of your Premiere Pro interface, displays us exactly what we’re looking at in the timeline. You could drag and drop clips from your media panel to the program monitor rather than the timeline to insert, insert before and after, replace, overlay, and overwrite a media clip. These are known as dropzones.
The Program Monitor has nearly the same buttons and functions as the Source Monitor; however, the Program Monitor relates to sequences rather than source material.
Beginner’s Guide To Adobe Premiere Pro Interface: Timeline Panel

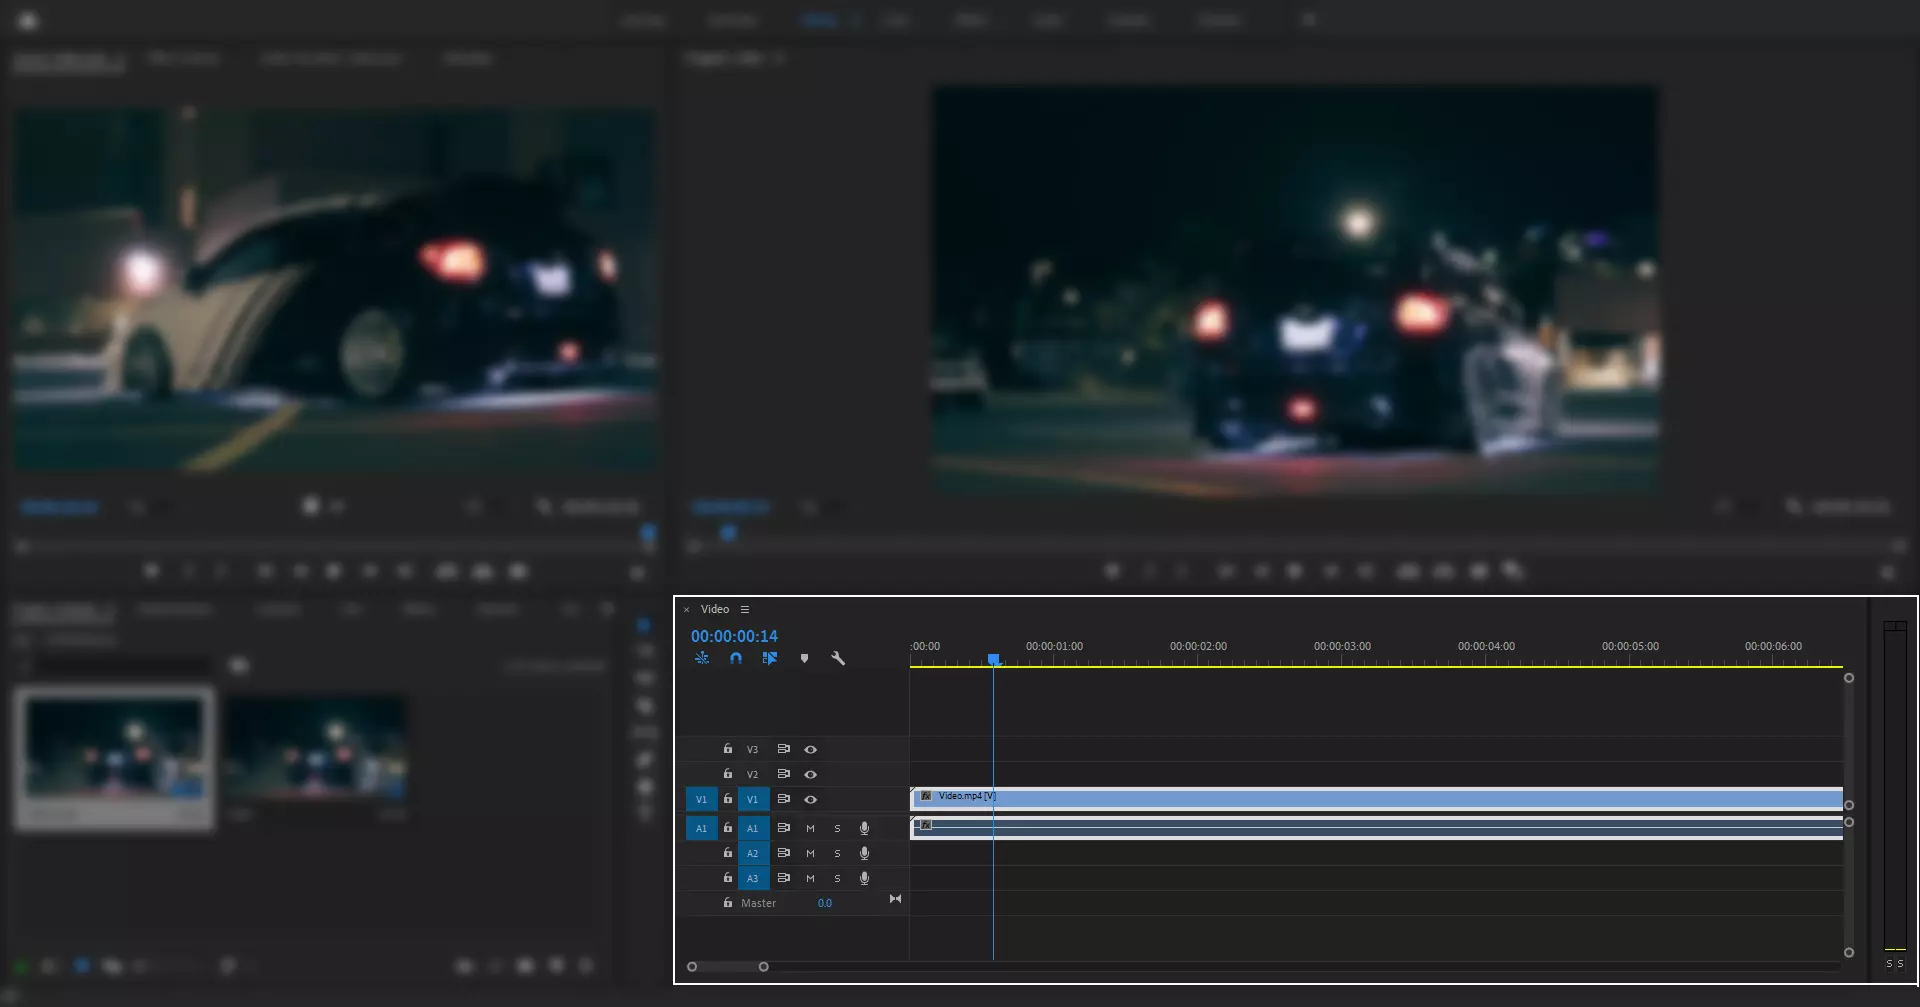
The timeline is the section of Premiere Pro where users can arrange their video clips and plan out all of the adjustments they want to perform. As you work, you’ll see all of your video clips, audio clips, effects, and transitions set down in a sequential manner.
You’ll be able to reorganize, trim, and enrich your videos, as well as do other fundamental video editing tasks. You may also preview your project at any point in the future to see how the changes will appear.
Beginner’s Guide To Adobe Premiere Pro Interface: Projects Panel

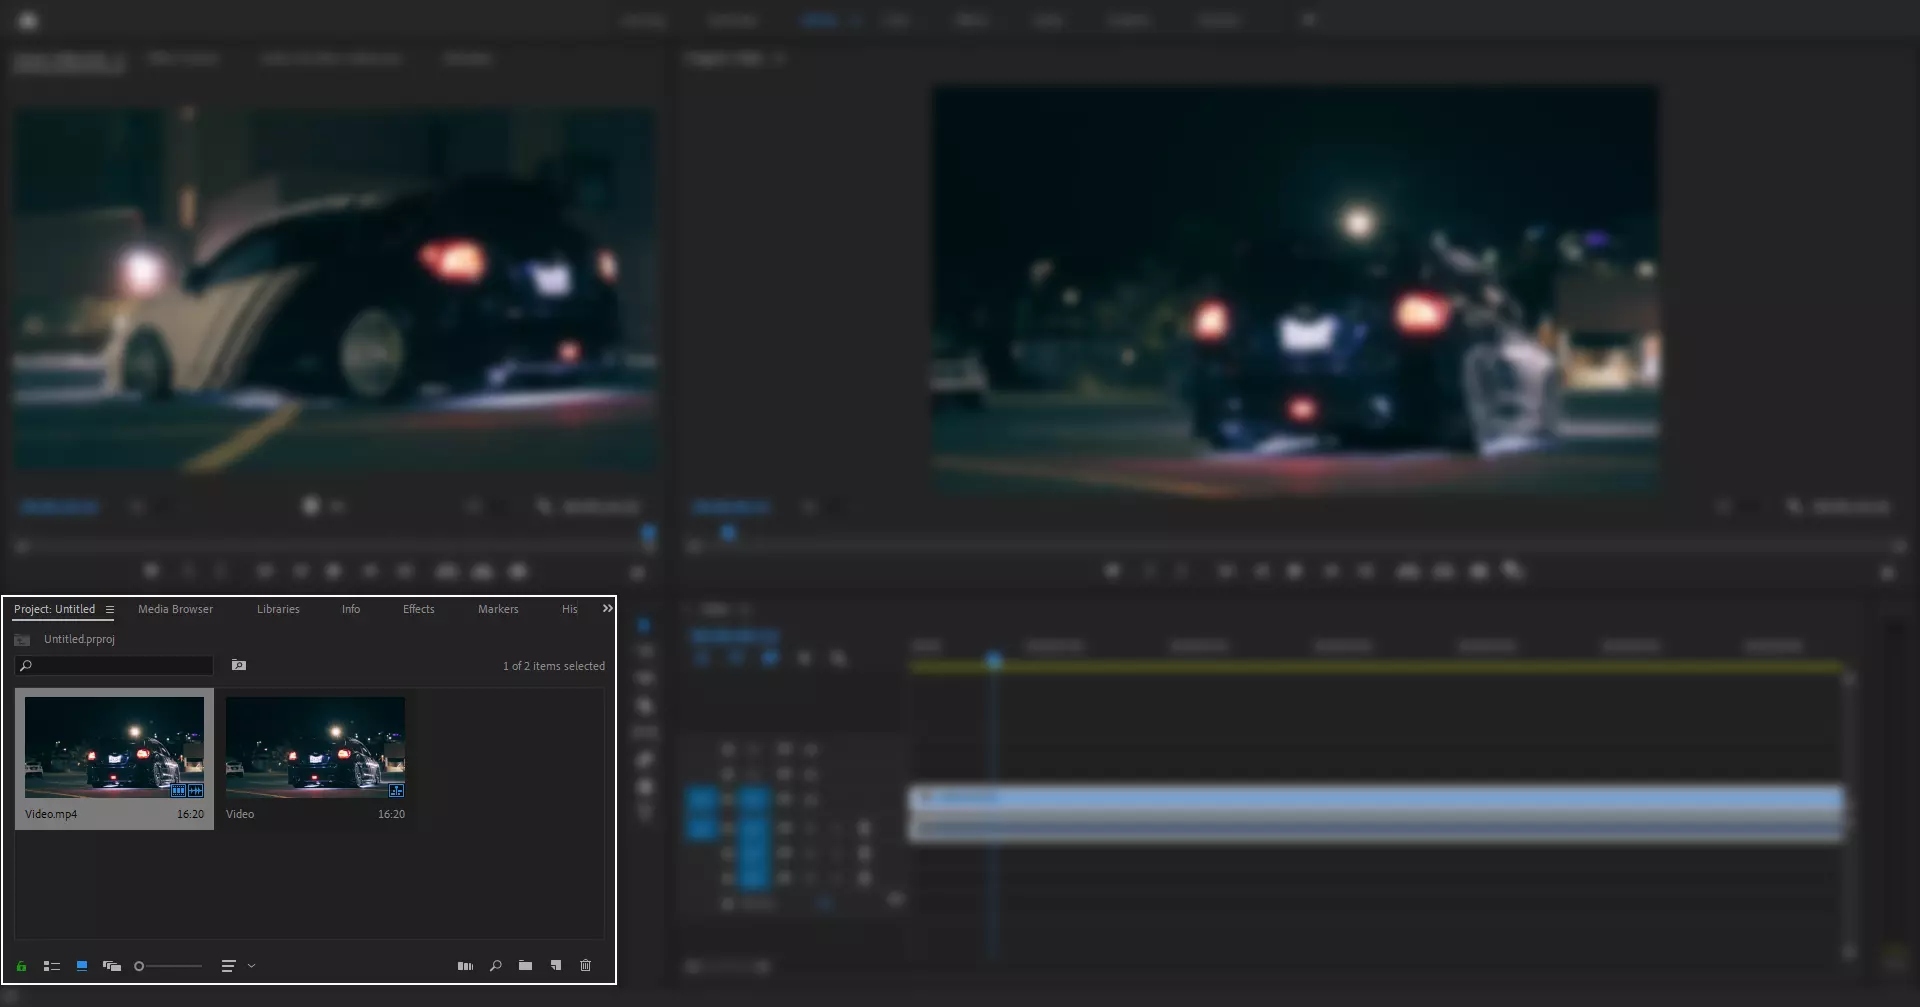
The Project panel serves as the core of any video project. It contains all of the user media files, such as videos, images, and artwork. You may save these media files to later add to your timeline. There are several options for customizing the view of the files within the panel, including List view, Freeform view, and Icon view.
There are some methods for importing files into the project media panel. The simplest method is to just drag and drop your media files into the panel. Other than this you can right-click on the area or go to file, select import, navigate to your desired location, and import your files.
Beginner’s Guide To Adobe Premiere Pro Interface: Toolbar Panel

Each icon inside this panel provides access to a tool in the Timeline panel that performs a specific job. This includes Selection Tool, Track Select Forward Tool, Ripple Edit Tool, Razor Tool, Slip Tool, Pen Tool, Hand Tool, and Type Tool.
Beginner’s Guide To Adobe Premiere Pro Interface: Conclusion
It’s time to start learning how to edit and manage videos if you haven’t before. The finest program for this is Adobe Premiere Pro. It may feel complex for beginners with its strong interface, but don’t worry after reading this guide on Premiere Pro’s UI you will get the basics of it.

